Just finalized the intro to the video, I am quite pleased with the result. The video can be seen on: http://youtu.be/VQXC39BDg_4
Technical goodies:
Tutorials I used: http://www.premiumbeat.com/blog/after-effects-3d-camera/ which showed a smarter way to work, panning and using a 1 point camera.
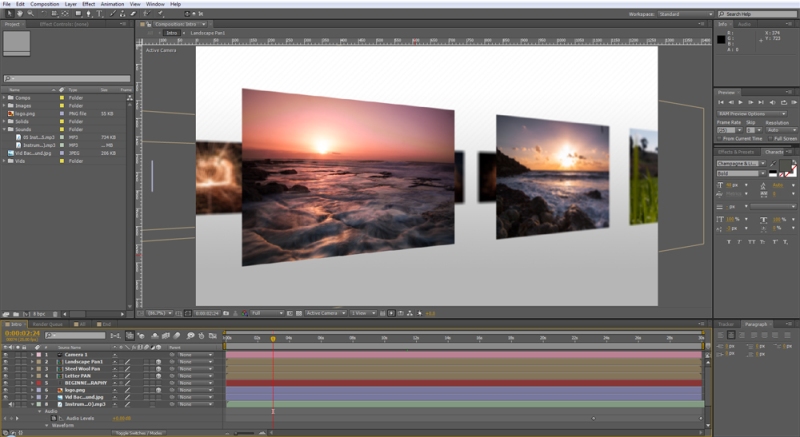
The whole focus for both the intro and the conclusion were the images, so what better way to show a lot of images than a 3D photo montage to really grasp the attention of viewers?
- Constructed the background in Photoshop which is a gradient from white to light grey with a stripy pattern vaguely visible.
- Created the working plane (1280p x 720p), set time limit to 2 minuets.
- I then created another composition with the same settings, only this time I set the time limit to 30 seconds which will be the time limit for my introduction.
- I created another composition 4000px X720px for the panning that will be used in the introduction (To move the whole composition not the images invividually).
- Then I imported the composition into the Introduction and changed it into a 3D model. By importing different compositions into one it ensures that the changes I make on one composition will be applied to the entire video without major consequences.
- Next I added a camera. The camera settings were left as default, ensuring the one pivot point camera.
- I then set to panning the video using the position and orientation of the camera working mainly with the X & Z coordinates. The orientation of the camera allowed me to pivot it on its point while moving thus enhancing the scrolling effect.
- I ended by zooming through the image and having the logo and the name of the DVD represented by fading in. The fading effect of the logo was done through a layer mask.
